CISA AERO allows you to organize doors using a two-level grouping structure: Area and Sub-Area. This helps to better manage and navigate your facility’s doors.
Doors will be displayed according to this grouping both on the AERO X Home page, and when you select them to program a credential.
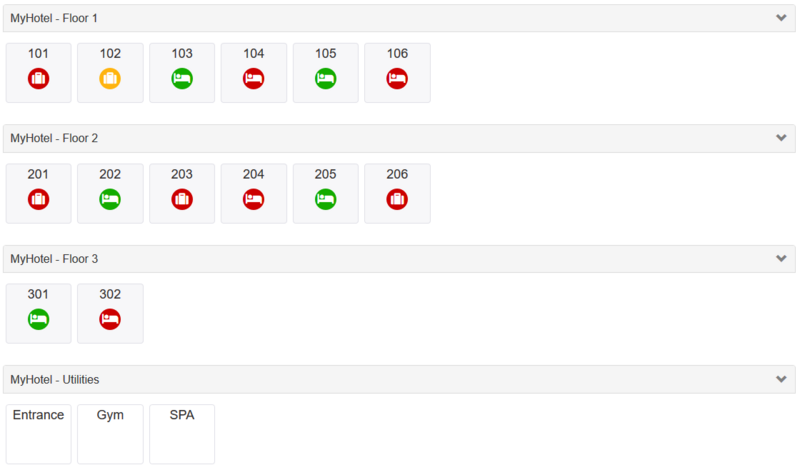
Example:
Area: MyHotel
Sub-Areas: Floor 1, Floor 2, Floor 3, Utilities
Go to the Other tab in the main menu.
Click the Area and Sub-Area button to open the management interface.
Add New Area:
Click the Add primary area button to create a new Area. Enter the desired name.
Add Sub-Area:
Click Add button to create a sub-area within an Area. Enter the desired name.
Set Display Order:
You can define the order in which Areas and their Sub-Areas appear. Adjust the display "Sort" numbers for Areas and for Sub-Areas within each Area to organize them as needed.
Save
Note:
Areas or Sub-Areas can be deleted if they have no items assigned (no doors for sub-areas, no sub-areas for areas). Select the Area or Sub-Area and click Delete (-) to remove it.
When editing a Door, a dropdown list allows you to select the Area and Sub-Area the door belongs to.
Each door can be assigned to only one Area/Sub-Area combination.