Keep the door open while you install the electronic cylinder, and close the door only after having checked that the device works properly.
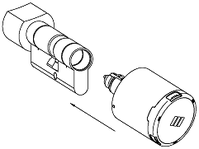
Unpack the electronic knob and pull out the casing.
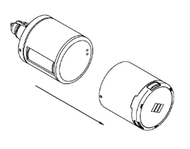
Pull out the plastic tab that protects one of the batteries inside the electronic knob. The device will beep and emit two red-green lights.
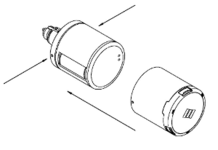
Insert the casing on the electronic knob, following the guides.
Complete insertion by pressing the side pins.
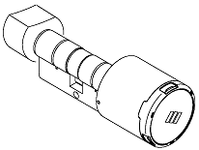
Check that the side pins protrude again into the holes in the casing.
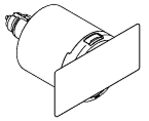
Present to the cylinder any Mifare 1K card (CT6). The cylinder moves the cam mechanism in the back, and blinks 10 green lights.
In addition the 2 side pins of the casing become fixed and cannot be pushed down any more.
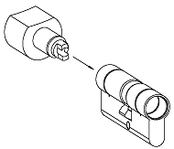
Mount the mechanical knob in the cylinder body, by rotating and applying light pressure until you hear an engage click.
Note: in case you need an electronic knob on both sides, mount the first electronic knob.
In this case the size of the cylinder body must be at least 30/35.
Insert the cylinder body through the door hole, center it appropriately in the lock and secure it with the screw provided.

Insert the electronic knob in the cylinder body positioned in the door, rotating and applying a light pressure until you hear an engage click.
Check that the knob is engaged by rotating 360° the knob while simultaneously applying gentle traction.
Present any Mifare 1K (CT6) card to the electronic knob. The cylinder enables lock operation, engaging the cam, and emits 10 green lights.
Rotate the electronic knob in order to move the lock, before the expiry of the opening delay.
Attention: the cylinder is not initialized. In this state, it is opened by any contactless card, even if the card is not programmed and it belongs to another installation.